Showing posts with label Makeovers. Show all posts

Tuesday, April 19, 2016

New {Iron} Stair Railing

We took the plunge and replaced our wooden stair banister and railing with a black iron one!  The result is beautiful...better than I imagined! 

Here is a before photo of our old wooden banister that we painted white:


It wasn't that the white didn't look good, it just didn't function well for our house.  It showed dirt terribly and got scuffed and scratched a lot.  I've been seeing a lot of metal railings on home makeovers and knew it was the perfect solution for us. 

In order to save about $600 we opted to do the demo and replace the base board ourselves.  We purchased a couple of 16', 1"x6" boards of primed of MDF since this material is harder than solid wood and won't dent as easily.  We purchased them from a local lumber supplier who delivered them for free. The fact that it was primed help cut the painting time in half too!

Here are a couple of photos from demo day:


Here is the new, painted base board that we installed ourselves:


Colorado got hit with a snow storm the day that they were supposed to install our new railing so it got delayed by a few days.  We had some dressers lining the upstairs so there were no accidents, thank goodness!

The installation only took an hour or so and everything went smooth as expected.  Here is what it looks like now:


I highly recommend Colorado Custom Iron Works if you're looking to replace your stair railing!


Monday, February 1, 2016

Planked Wall {Curtains & Rods}

The curtains and rods were hung on the planked wall this weekend!  I am loving the contrast of the white walls, black rods and dark gray curtains.  We also added sconces above the fireplace which are actually outdoor lights from Lowe's.  Currently they are non-functioning but my hubby and I are exploring ways to change that!


I purchased the antique mirror on craigslist and refinished the wood.  I stained it in Minwax Special Walnut and it turned out exactly as I envisioned.  The warmth of the wood stain tones down the black metal perfectly!


I've already made changes to the mantel décor since I took the pictures but I'm planning on leaving the blue seltzer bottles on there for a while.  These were another craigslist score as I paid ten dollars a bottle which was a steal!


Come back soon to check out my Valentines Décor...


Sunday, June 26, 2011

{Retro} Desk and Chair Makeover

Arielle's desk makeover is complete and I am so happy with how it turned out!  You can see a before picture of the desk here, however I forgot to take a before picture of the chair.


It took several coats of paint to cover the desk after we primed it and sanded it.  The color is Fairaway Mist by Behr and I chose this color because it matches one of the several colors in Arielle's quilt which is from the Pottery Barn Pink Island Surf collection. 


After much debate about which hardware I was going to get for the desk make-over I am glad I chose the satin nickel bin pulls that match Arielle's silver daybed frame.


I bought the frame for the magnet board at Goodwill for $5.99 and cut up some leftover sheet metal from another magnet board that I made. Arielle and I made the seashell magnets today. It was fun and easy to do!


I purchased the chair at Habitat for Humanity Thrift Store for $2.99 and it was in really bad shape.  It was dark wood, required a couple of pieces to be glued together and the ugly old dirty fabric was ripping apart.  There is a stamp on the bottom of the chair that states "1965" so it's old but in overall good condition. 


To makoever the chair, I removed the chair seat, sanded the chair and gave it three coats of spray paint.  I distressed it heavily for the final touches so that it would fit in more with the beach theme of Arielle's room and also hide a few blemishes.  I had never recovered a chair before so I didn't know what to expect but it was really easy.  I found the fabric at JoAnn's and thought it was perfect! 


I even purchased extra fabric to makeover Arielle's bright pink curtains so that they will match her new chair. I love the fabric so much that I couldn't resist even if it involves some sewing because I know it will be worth it. I will post the rest of the room when the curtains are finished.


Linky Love:  The Shabby Nest ~ Frugal Friday, Just A Girl ~ Show and Share Day, Tip Junkie ~ Homemade Projects, The Shabby Chic Cottage ~ Transformation Thursdays, Just A Girl ~ Show and Share Day, Thrifty Decor Chick ~ Before & After Goodwill Party

Tuesday, June 7, 2011

Beachy Guest Room {Updates}

I have been updating our beachy guest room over the past several months because I want it to feel bright and airy like a hotel room in the tropics.  The only item I knew for sure that I wanted to leave in the room was the sea shell and coral quilt on the bed because I just love the look of it.  I also didn't want to paint it because we don't have a lot of time on our hands so I tried to add color in other ways.  A lot of projects that I have posted on this blog have contributed to this room's makeover. 


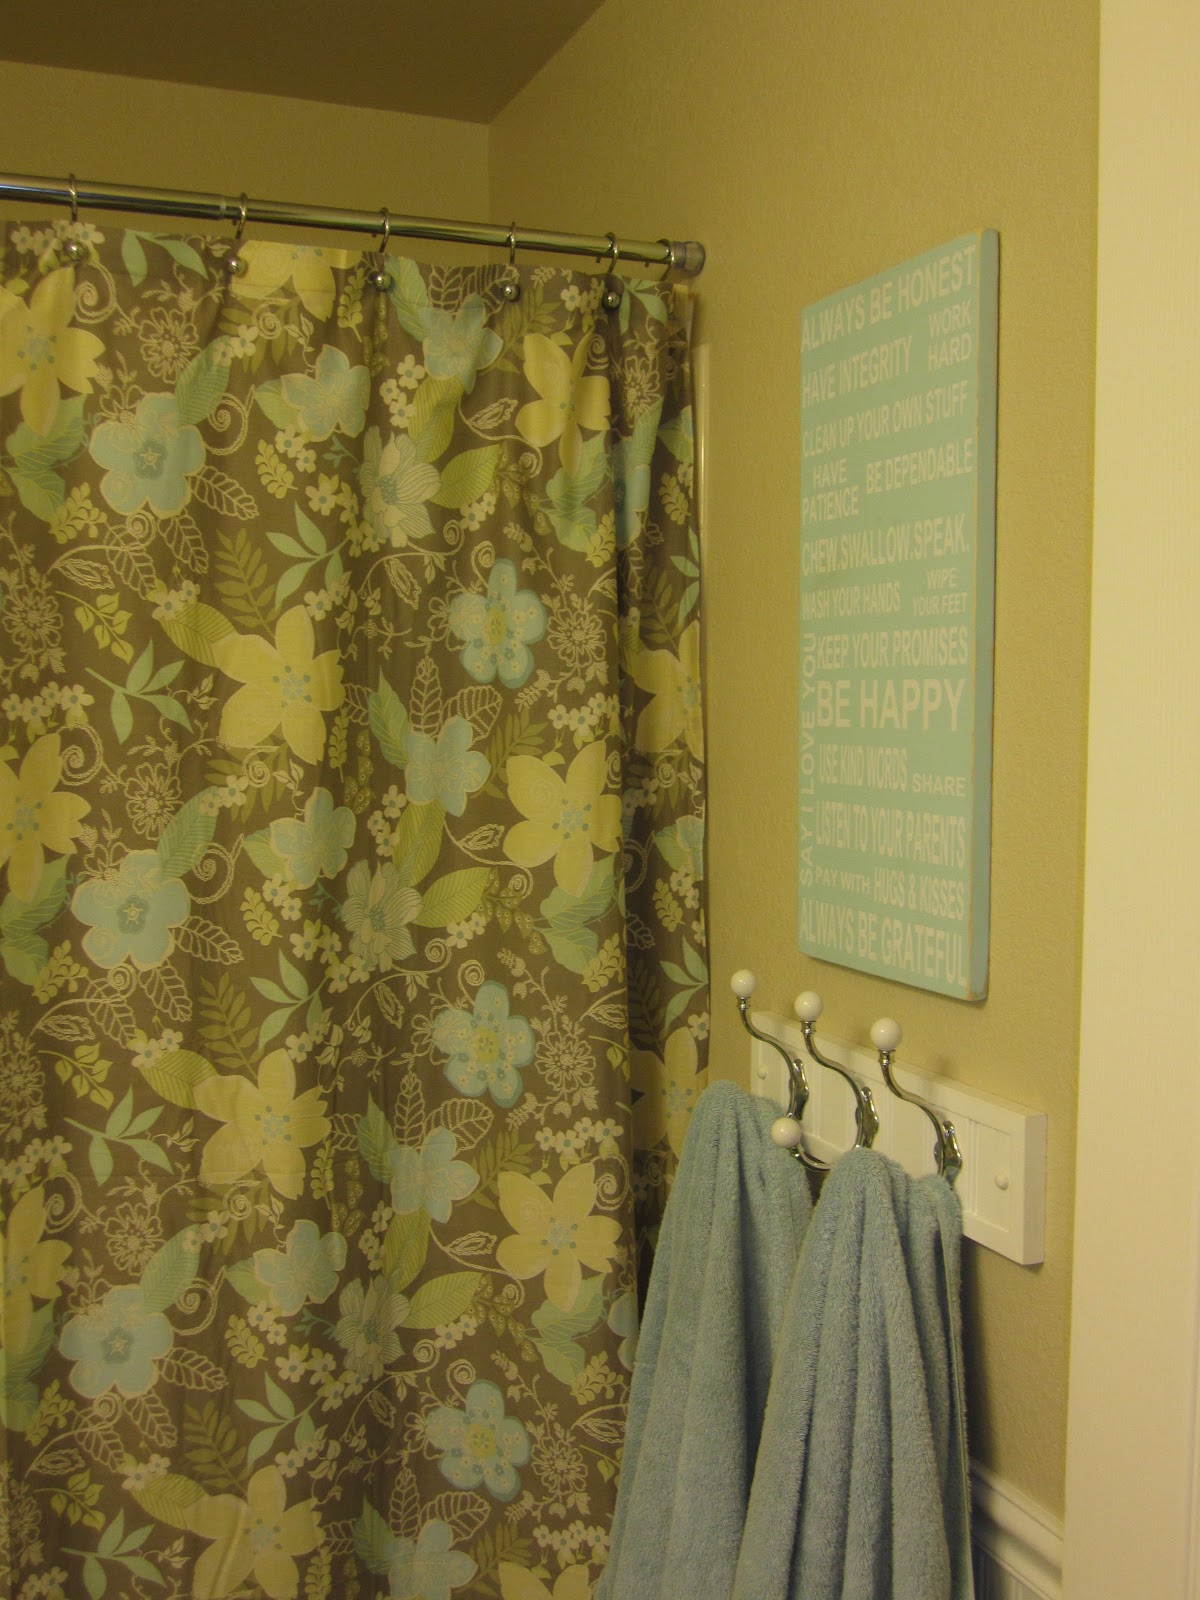
I started by changing out the throw pillows and curtains.  The curtains went from heavy green twill panels to brown linen panels that I found on clearance at Lowe's for $10 each.  The linen let's the light in but you can still keep the lights out by closing the blinds. I replaced the throw pillows with my tropical pillow slipcovers on the bed which give the room a much needed pop of color!  Then I painted my brown wooden cube shelf a light shade of blue and distressed it.  Of course I changed my tablescape on the shelf as well.  I added glass objects because the glass reflects the light and some shells because they go with the beach theme. 


My floral fabric lampshade cover was a great addition to the room as well!  Next I replaced the glass and metal nightsand that matched the headboard with a round pedestal side table that I painted white.  I like how the mis-matched furniture makes the room feel relaxing and casual.  I also changed out the wall art above the headboard to a set of four tropical prints in frames that I painted white. 


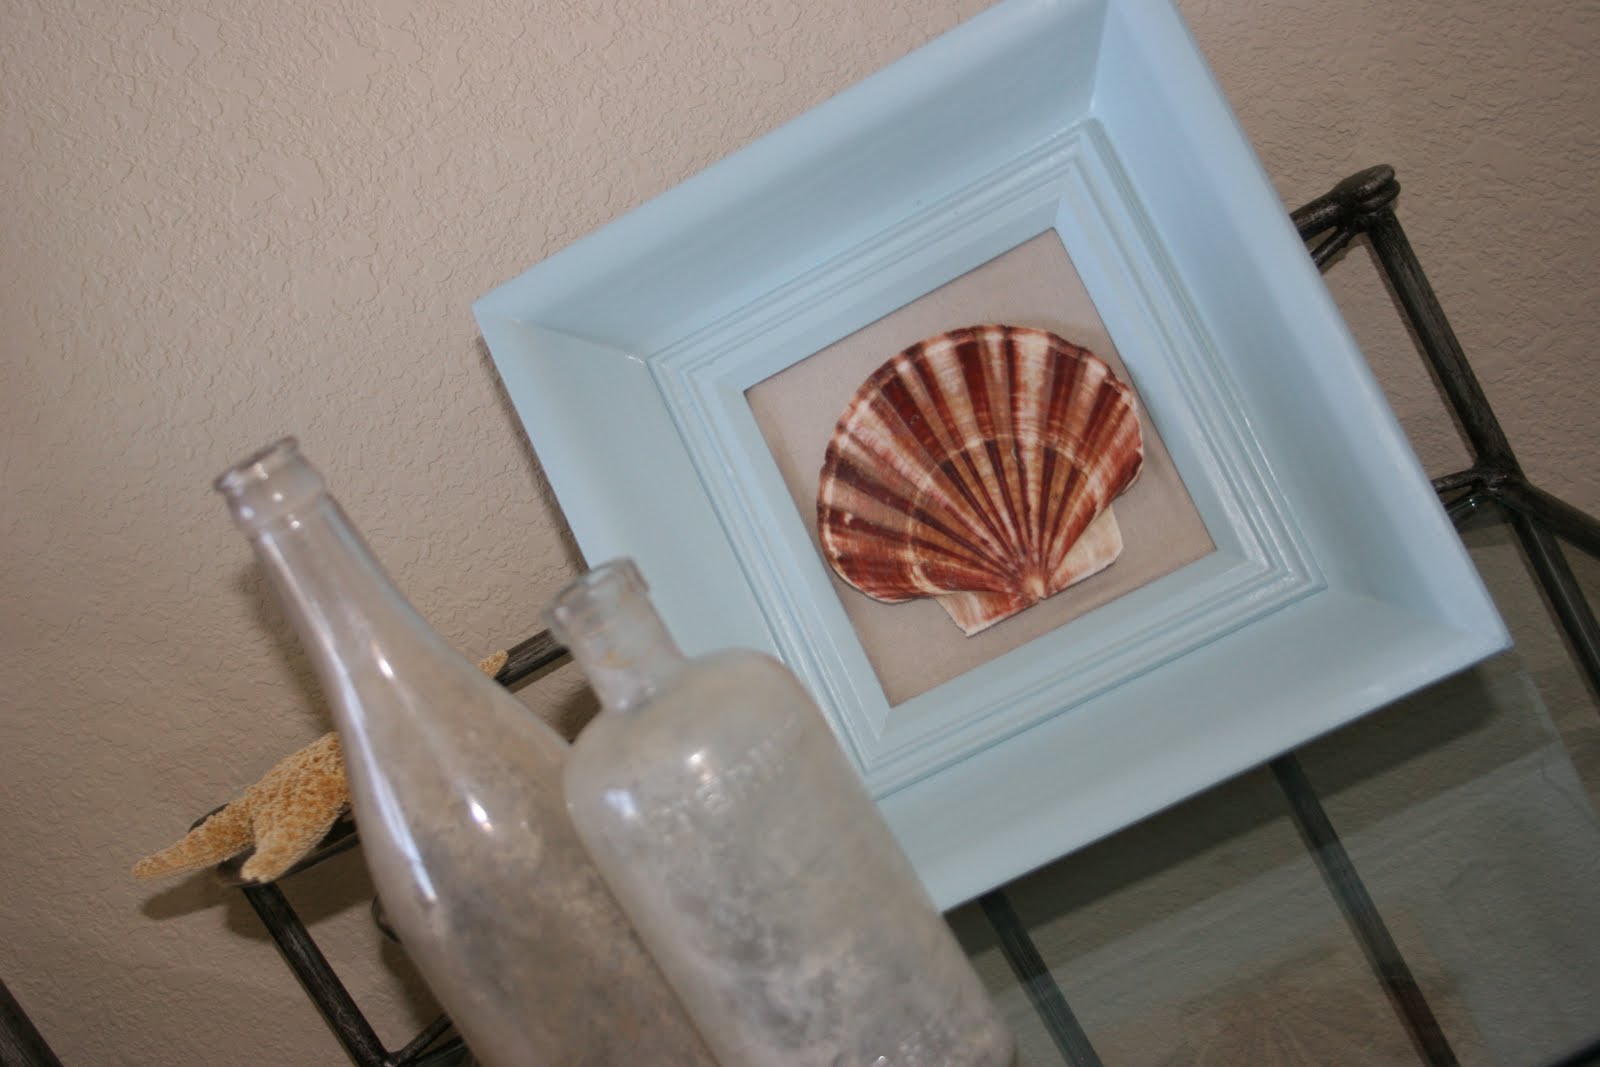
The walls on each side of the windows used to have matching palm tree sconces but they were too dark for the new look so I replaced them with framed shell art that I made above a white ceramic tray.  I am still trying to find something to hang on the other side of the wall but nothing that I have tried so far looks right. {I realized while posting this blog that I do not have a picture of this spot in the room so I just quickly snapped one. It's really out of focus and boring but you get the idea}.


All that is remaining to be updated is the light brown wicker chair that doesn't match anything else in the room.  I'm pretty sure that I am going to paint it white and distress it so it looks old and beachy.  The dark brown leather storage ottoman will be the only remaining dark object in the room but I don't mind. I think it will help balance the room out with the brown curtains.  I may consider making a slipcover for it to cover up but it will take finding perfect fabric to get me motivated! 

I'll update my blog when the room is completely finished...


Monday, May 30, 2011

Girls Bathroom {Painted} Gray


This weekend we took on an unexpected painting project! We decided to paint the newly redecorated girls bathroom. Paint was on sale and the room is so small that we thought it would be a great little project to tackle over the weekend. I am so glad we did it because the feeling in the room is so much more calm, crisp and airy.


The color we chose a light shade of gray and it is called "Quiet Rain" by Behr. Whever I paint a room this small I always paint the ceiling to make it feel more cohesive.


I love the pop of color from the aqua blue wall hooks. I got both baskets from Goodwill for $1.99 each and although I love how they match the wood tone of the vanity but I am thinking about spray painting them aqua blue to match the hooks. What would you do?


Tuesday, May 24, 2011

Pedestal Table {Nightstand} Makeover

I really wanted a white round nightstand for our beachy guest room makeover so when I found this one on craigslist for $10 I knew I could make it work.  I'm so glad I finally took the time to do this makeover because it gave this room new life.  All it took was a good sanding {thanks to my helpful husband for doing this part for me}, three coats of white semi-gloss paint and it was done! 


I'll reveal the rest of the room later this week...

~Linky Love~The Shabby Chic Cottage~The Shabby Nest~


Thursday, April 21, 2011

Girls {Thrifty} Bathroom Makeover

My girls' bathroom is small...very small...it is one of my least favorite things about our house.  It makes it hard now that there are two of them brushing their teeth every night and taking baths together but we make due with what we have.  When we moved in nearly five years ago I had a flip-flop, beachy theme in there with a very colorful, vertical striped shower curtain.  I liked it but was ready for a change.


When I saw this pretty shower curtain I knew immediately it was perfect for my bathroom makeover.  I got the Family Rules Subway Art from MellisaJane's Etsy shop.  It was just the right color blue to match the shower curtain and I love the rules that she put on it. 


The set of three royal crown wall hooks were ebay purchases and I was a little bit dissapointed when I got them because the listing said they were white but they are not even close to that.  They are actually the same color beige as my walls so they are hardly noticeable.  I plan on spray painting them either bright white or light blue but at least they are hung up for now and functional.  The third hook is on the wall directly across from the shower curtain next to the mirrored medicine cabinet but I couldn't get any good pictures of that side of the bathroom.


The accessories on top of the bathroom cabinet were from around the house and I especially love the hurricane glass jar full of travel size toiletries that I have picked up from various hotels.


Here's the cost breakdown:

Shower curtain - $10 with coupon at JC Penney's
Family Rules Subway Art sign - $56 splurge for me but it's one-of-a-kind
Set of 3 Cast Iron Wall Hooks - $27 on ebay
Bath Mat & Toothbrush Holder - $10 at Ross

Total Cost of Makeover - $103

The nice thing about a small bathroom is the low cost to decorate it! 

***Linky Love*** The Shabby Nest ~ Frugal Friday


Sunday, September 19, 2010

Floral {Lamp} Shade Makeover

I have seen a lot of lampshade makeovers and thought they were such a great idea so I decided to make my own.  I used a lamp shade that I already had and purchased a yard of designer's fabric from Jo-Ann for $7. 

Here is my lamp shade before the makeover:


I thought this was going to be an easy project because of one reason; I thought the lampshade was "Drum" shaped but it turns out that it is slightly "Bell" shaped.  I discovered this after I already cut the fabric so needless to say I did not make a template as I should have.  The result of this is that the line where the fabric meets in the back is slightly diagonal and the fabric doesn't lie flat against the lampshade in some areas.  What should have taken me about a half hour to do took one and half hours.  Ultimately the shade ended up looking pretty good and I was able to hide the bad spots because the lamp is in the corner of our living room.  I do have enough fabric leftover to perfect my shade cover but I am going to hold off until I find a good deal on new shade. 


The only supplies I used were a hot glue gun, scissors, measuring tape and iron.  First I measured the height and length of my lampshade and cut my fabric so that the length was two inches longer and the height was one inch longer.  Next, I folded the raw edges of the fabric by half an inch and ironed them down then I hot glued the seams together.  

When I was done with this step my fabric looked like this:


Lastly, I matched the fabric up to the top and bottom of the shade and hot glued it around the edges.  Like I said, this would have been super-EASY if the shade was perfectly drum shaped but since it had a slight taper and was a bit bell shaped I should have created a pattern first.


To see what this lamp base looked like before my makeover click here.

***LINKY PARTIES***Today's Creative Blog***

Wednesday, September 15, 2010

Thrift Frame Makeover ~ {Shell} Art

I had leftover paint from my beachy cube shelf makeover so I decided to transform a picture frame that I bought at Goodwill for $3.  It was black but I wanted to brighten it up and use it in my guest room makeover that is still a work-in-process! 


I had this beautiful shell that fit perfectly inside my new blue frame.  First I cut a piece of fabric and spray-glued it to the picture frame backing.  Then I applied the shell to the fabric with 3M heavy duty foam mounting tape.  I love my new framed shell art and the fact that it only cost a few dollars!


I still have about a quart of my custom-made paint left over so I may have another makeover in the works!

***LINKY PARTIES***The Shabby Chic Cottage***Paisley Passions***Just A Girl***